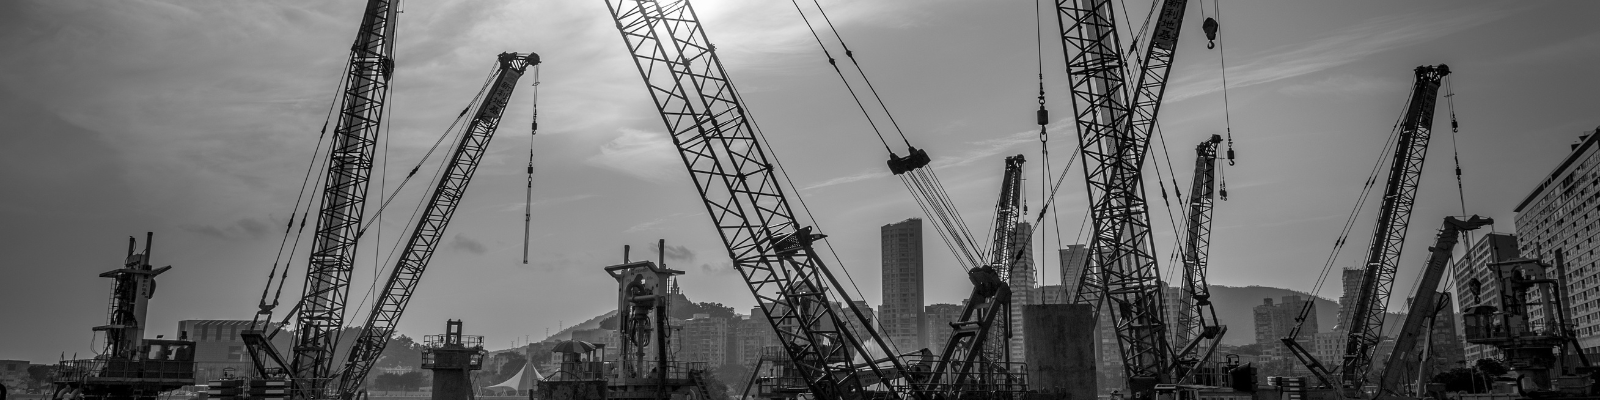
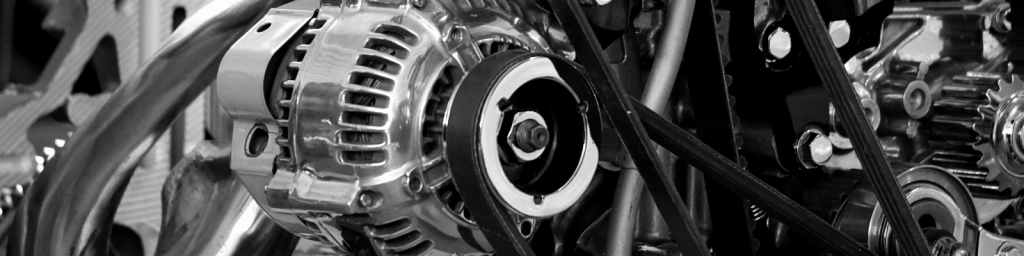
Crane Maintenance and repair
Cranes are heavy-duty machines that are used in industries such as construction, manufacturing, and shipping. They are essential for lifting and moving heavy loads.
Like any other equipment, cranes require regular maintenance and repairs to keep them operating at peak performance.
In this blog, we will cover the four most common crane repairs and a few tips for preventative maintenance.
Looking for crane repair service near
grand rapids, michigan?
Four common issues with cranes : crane Maintenance and Repair
Crane Wire Rope wear and tear
The wire rope is responsible for bearing the brut of the load during heavy lifting operations. Over time, the wire can become worn out or damaged. This can lead to safety concerns and decreased lifting capacity.
To prevent mishaps caused by a damaged wire rope, it is essential to regularly inspect and replace it when necessary. The two biggest causes of damage to the wire come from misuse and neglect to lubricate it. Misuse comes in the form of overloading the crane and shock loading. To avoid damage to the wire rope, make sure that it stays properly lubricated.
Crane Hydraulic Issues
The hydraulic system regulates the movement of the boom, hoist, and other components. Leaks, pollution, and hydraulic cylinder failure are all common hydraulic difficulties. It is critical to undertake regular maintenance, including changing the fluid and filters, to avoid issues with the hydraulic system.
Electrical Problems
Common electrical issues include wiring problems and blown fuses. To prevent electrical problems, it is important to inspect the electrical components regularly and replace damaged parts.
Operators should be careful to avoid using the crane in damp conditions.
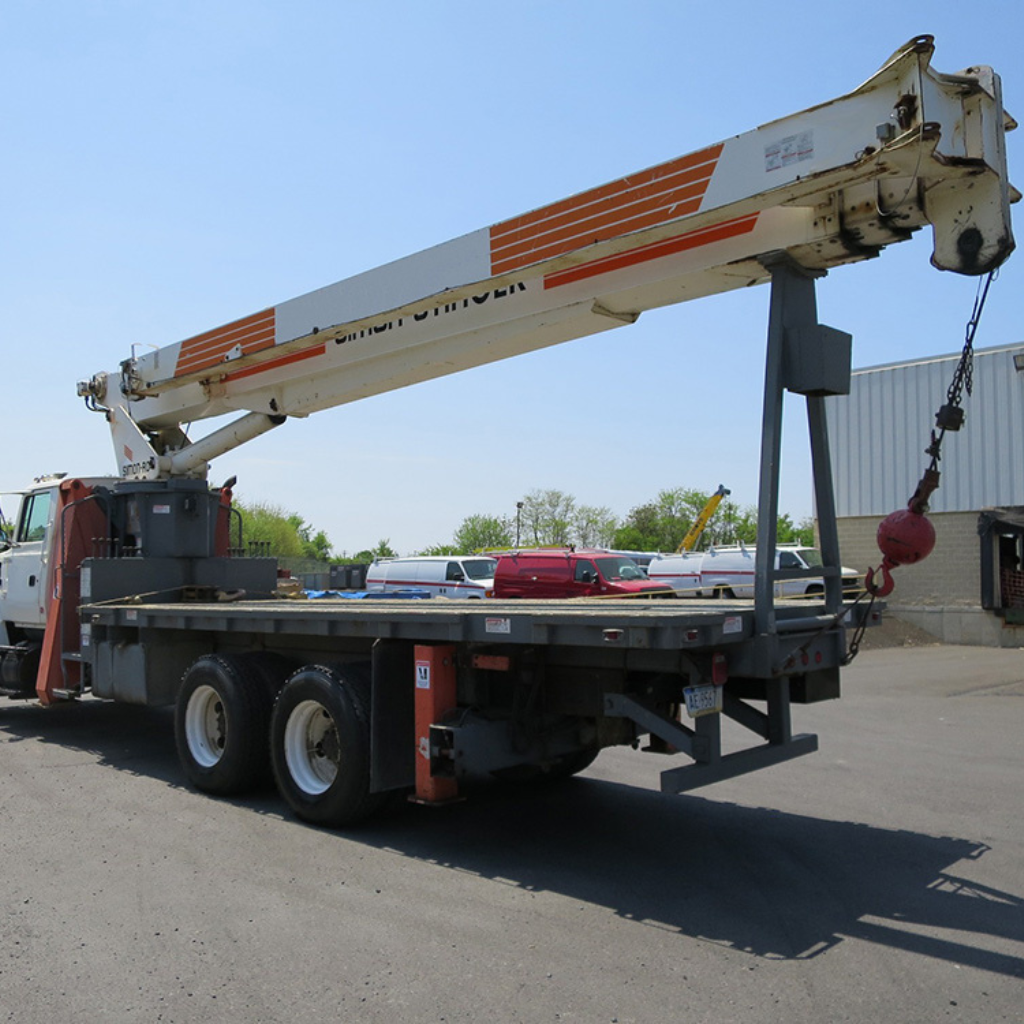
Structural Damage
The structure of a crane can become damaged over time. This results in safety problems and limited lifting capability. Cracks, distortion, and corrosion are all common structural problems.
It is critical to undertake frequent inspections and repair or replace damaged elements to prevent structural damage. Operators should also be instructed to prevent overloading the crane and utilizing it under adverse environmental conditions.

Conclusion
In conclusion, regular crane maintenance and repair are essential for preventing crane repairs and ensuring optimal performance. By following the manufacturer’s recommendations and taking proper precautions, you can extend the life of your crane and reduce the risk of downtime due to repairs.
Crane Inspections in the West Michigan Area! Ask about Pricing!
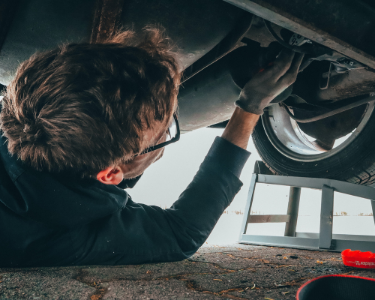
Mobile Crane repair service near
Grand Rapids, Mi
Looking for On-site crane repair in West Michigan? Speed wrench has you covered!
Give us a call!
crane repair service Near Grand Rapids, Michigan
- Crane/Equipment inspections/Crane Osha Inspections
- Crane mobile repair
- Hydraulic diagnosis and repair
- Reconditioning old crane units